How to create a Flipdish App Store app?
Step 1: Create an OAuth app
The first thing to do is to get setup with our API so you can start building and testing your integration. To do this, simply follow the steps in this guide and you’ll be up and running in no time.
When setting up the webhook events for your app, you want to ensure you are notified when your App Store app has been installed or the configuration has been updated so make sure to select these events.
Step 2: Create and test your App Store app
Once you are happy with how your integration works, then it is time to create your App Store app. The difference between this app and your Oauth app, is that this one when approved will be displayed to all Flipdish clients in their Flipdish portal. This allows Flipdish clients to discover your integration, install it on their account and use the functionality you have built. Until you have an App Store app created and verified it cannot be used by Flipdish clients.
To start on your App Store app, navigate to the developer section of the portal, click on App Store apps and click create new. Start by filling in the App details and configuration types (all of which are explained below):
- OAuth app - this is where you link your OAuth API app to your App Store app so that when the App Store app is installed by a Flipdish client, your integration will work as expected.
- Permission level - depending on the integration you have built, your App will require certain permissions to use the API for a Flipdish client. At Flipdish, these permission sets come in the form of teammate levels. For more information on the different teammate levels and the API access for each check out this helpdesk article.
- Name - This is the name of your App that will appear in the Flipdish portal and be visible to clients.
- Description (Max. 100 characters) - provide a very short description of what your App is or does.
- Details - provide more information about how your integration works, the value it provides to a Flipdish clients and the steps to get setup.
- Developed by - the name of the company or individual that has created the integration.
- Logo (Recommended size is 3000 x 3000)
- Store selector type - depending what integration you have built and how you have built the integration, there are 3 types of access you will be granted to a Flipdish client's account.
- None - this means that your integration is not specific to an individual or multiple Flipdish stores but instead is an integration that requires access to clients AppID. E.g. A CRM integration might require access to all the Flipdish information and not specifically individual stores.
- Single - this means that your integration needs to be installed for each individual store by the Flipdish client. E.g. A point-of-sale integration is typically done for each individual store.
- Multiple - this is when your integration can be installed for more than one location at a time.
- Configuration type - choose the way in which your App Store app will be configured.
- External link - this is when you want the setup and configuration of the clients integration to happen within your own website or portal. This type of configuration allows the client to install your App Store app and then be sent to an external link as part of the final step in the installation process.
- Flipdish hosted - when you want to capture information about the Flipdish client within the installation process, you can build these fields in to your App Store app form and Flipdish will host this information and send it to you in the webhook when your App Store app has been installed by a Flipdish client.
- Categories - choose the App Store category that best fits the type of integration you have built
- Supported Countries- choose the countries in which you want your App Store app to be available.
For an example listing, check out one of our existing App Store apps in your Flipdish portal.
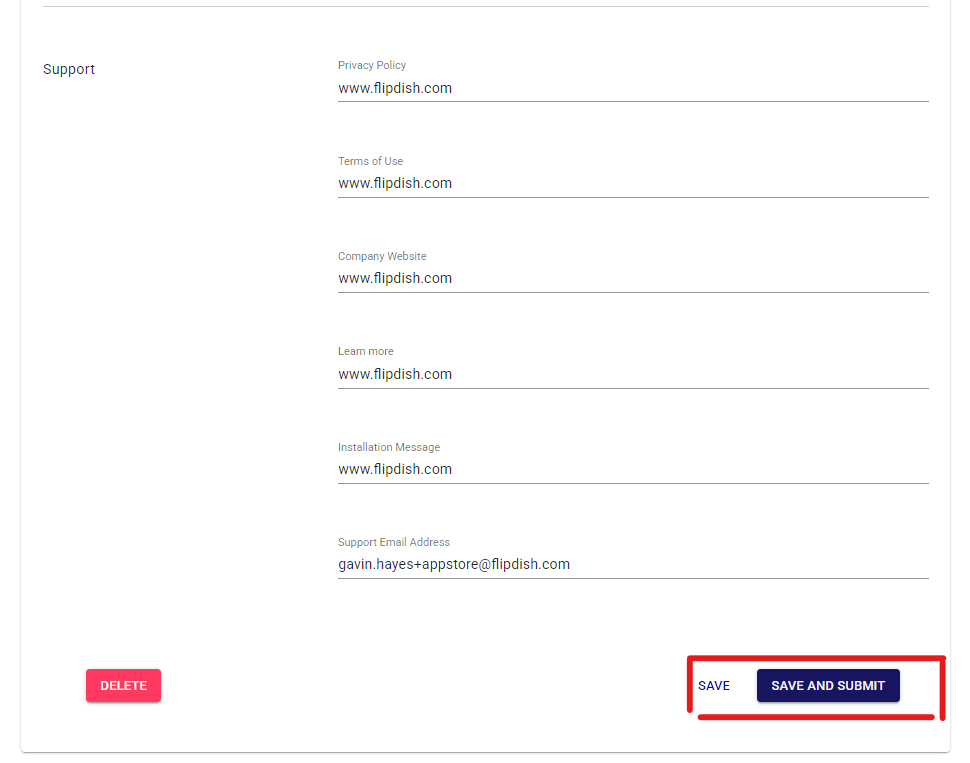
Step 3: Save and test your App Store app
Once you are happy with the information, then click save and give your App Store app a test run by navigating to the App Store in your Flipdish menu.
Test the flow from start to finish to ensure it all works as expected. This is important because before your App Store app can be approved to go live for Flipdish clients, the Flipdish integrations team internally will arrange a validation call to test it fully.
Step 4: Submit your App Store app for approval
Once you have tested your App Store app fully, then go back to the listing page and submit the app for approval. The integrations team internally will reach out to arrange a convenient time for a validation call where we learn more about the integration you have built and validate all the information is correct. If everything works as expected, we will approve the App Store app and it will ready to be used by Flipdish clients and available in the Flipdish portal.
Step 5: Making changes to an App Store app
Certain parts of your App Store app listing can be changed by going back to the page and making edits. Other elements require additional approval, if you want to change the parts that are not editable then please reach out to us at [email protected] with the requested changes and where possible we will make those updates.
Step 6: Monitoring App Store app performance
We don’t currently offer any form of developer portal or app performance metrics so we encourage integrators to track how many installs they have and active users. If you would like updated metrics at any point you can also email us at [email protected] and we can provide this information
Questions - please reach out to [email protected]
Updated about 1 year ago